Hey there, fabulous realtors! Have you ever struggled with uploading your stunning headshot because the file size was just too big? As a professional headshot photographer specializing in real estate, I know firsthand how crucial it is to have a perfectly sized image that looks great but doesn’t slow down your website or clog up your email. Today, I’m going to walk you through an easy-peasy process to resize your headshot image to a smaller file size without losing quality. Trust me, it’s simpler than you think!
Why Resize Your Headshot Image?
Before we dive into the nitty-gritty, let’s talk about why resizing your headshot is so important.
Benefits of a Smaller File Size
- Faster Website Loading Times: A smaller image file means your website will load quicker. This is crucial because a faster website keeps visitors engaged and reduces bounce rates.
- Easier to Share: Whether you’re emailing your headshot to a potential client or uploading it to social media, a smaller file is less likely to encounter issues.
- Improved User Experience: Quick-loading images enhance the overall user experience, making your website more professional and appealing.
- Platform Compliance: Many platforms have file size restrictions. Resizing ensures your image meets these requirements without a hitch.
Understanding Image File Sizes
Dimensions vs. File Size
Let’s clear up some confusion: image dimensions refer to the width and height of an image (e.g., 1200×800 pixels), while file size is the amount of digital space the image takes up (e.g., 500KB).
Common File Formats
- JPEG: Great for photos with lots of colors.
- PNG: Ideal for images with transparency.
- GIF: Best for simple graphics and animations.
Easy-to-Use Free Applications for Resizing Images
1. TinyPNG
TinyPNG is a lifesaver when it comes to compressing images without losing quality.
Step-by-Step Guide:
- Go to TinyPNG.
- Drag and drop your headshot image into the upload area.
- TinyPNG will automatically compress your image.
- Download the compressed image.
Pros:
- Super easy to use.
- No sign-up required.
Cons:
- Limited free usage.

Caption: Compressing an image using TinyPNG is as easy as dragging and dropping your file.
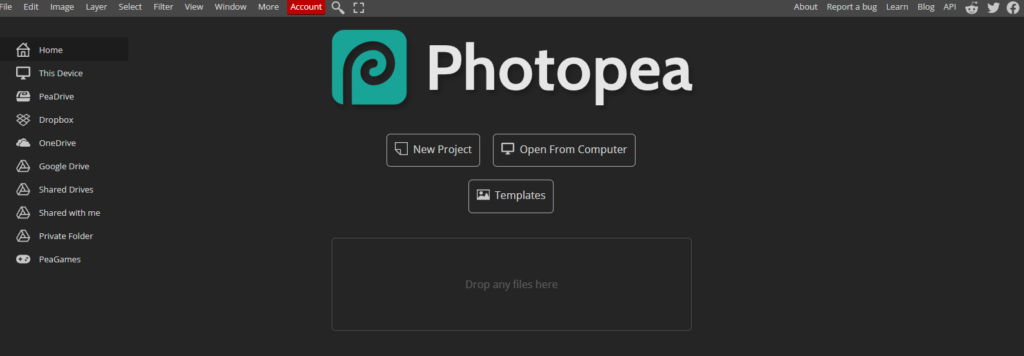
2. Photopea
Photopea is like a free, online version of Photoshop.
Step-by-Step Guide:
- Go to Photopea.
- Open your headshot image.
- Go to Image > Image Size.
- Adjust the dimensions and click OK.
- Save your image as JPEG or PNG.
Pros:
- Powerful and versatile.
- No installation required.
Cons:
- Slight learning curve.

Caption: Resizing your image in Photopea takes just a few clicks.
3. GIMP (GNU Image Manipulation Program)
GIMP is a robust, free software for image editing.
Step-by-Step Guide:
- Download and install GIMP from GIMP.org.
- Open your headshot image in GIMP.
- Go to Image > Scale Image.
- Enter new dimensions and click Scale.
- Go to File > Export As to save your resized image.
Pros:
- Extensive features.
- Free and open-source.
Cons:
- Can be overwhelming for beginners.

Caption: GIMP offers advanced tools for precise image resizing.
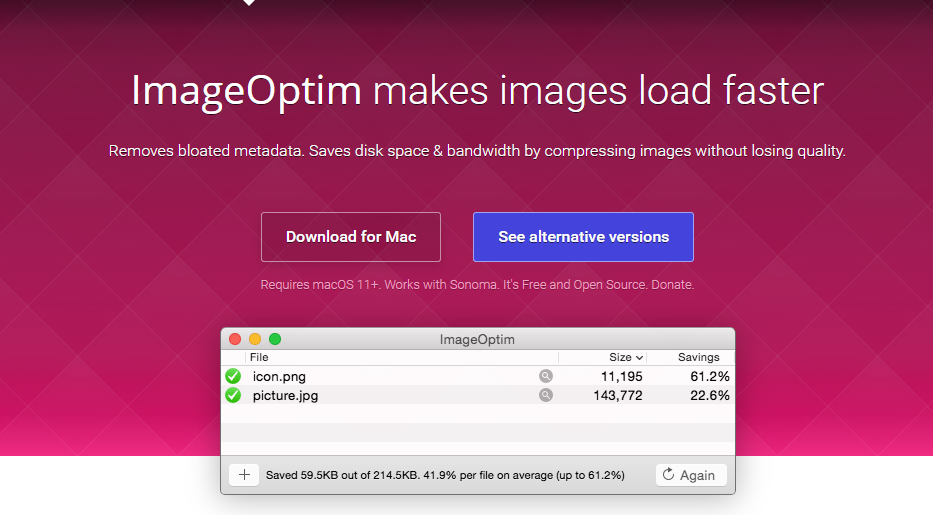
4. ImageOptim (Mac)
ImageOptim is perfect for Mac users looking to compress images effortlessly.
Step-by-Step Guide:
- Download ImageOptim from ImageOptim.com.
- Drag your headshot image into the ImageOptim window.
- ImageOptim will automatically compress your image.
Pros:
- Extremely user-friendly.
- Fast compression.
Cons:
- Only available for Mac.

Caption: ImageOptim provides a simple interface for quick image compression.
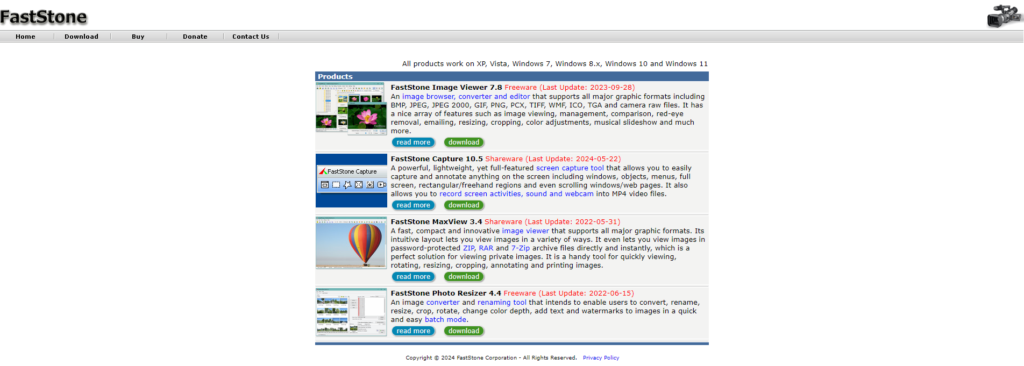
5. FastStone Photo Resizer (Windows)
FastStone Photo Resizer is a fantastic tool for Windows users.
Step-by-Step Guide:
- Download FastStone Photo Resizer from FastStone.org.
- Open your headshot image.
- Select Resize and enter new dimensions.
- Save the resized image.
Pros:
- Easy to use.
- Batch processing available.
Cons:
- Windows only.


Caption: FastStone Photo Resizer is perfect for quick and easy image resizing.
Step-by-Step Guide to Resizing Your Headshot Image
Choose the Right Tool
Decide which tool from the list above suits your needs best. For quick, online compression, TinyPNG is fantastic. If you need more control, Photopea or GIMP might be better options.
Open Your Headshot Image
Regardless of the tool you choose, the first step is to open your headshot image. This process is usually straightforward and involves either dragging the image into the application or using an ‘Open’ dialog to select the file from your computer.
Resize the Image
Maintaining the aspect ratio is crucial to avoid stretching or squashing your image. Most tools have an option to lock the aspect ratio, so your image scales proportionally. Aim for dimensions that suit your primary use (e.g., 800×600 pixels for web use).
Compress the Image
Using the compression feature will reduce the file size without significantly affecting the image quality. Experiment with different compression levels to find the right balance. For instance, in TinyPNG, the compression is automatic, whereas, in GIMP, you might adjust the quality slider when saving as a JPEG.
Save and Export the Image
Choose the appropriate file format (JPEG for photos, PNG for images requiring transparency). When saving, select a quality setting that preserves the image’s clarity while keeping the file size manageable.
Tips for Maintaining Image Quality
- Start with a High-Resolution Image: The better the original quality, the better the resized image will look.
- Avoid Over-Compression: Excessive compression can lead to visible artifacts and loss of detail.
- Use Appropriate Dimensions: Resize images to the dimensions needed for their intended use, avoiding unnecessarily large sizes.
Resizing your headshot image to a smaller file size is a breeze with the right tools and a bit of know-how. Not only will this improve your online presence and user experience, but it will also make sharing your professional headshot easier. Give these tools a try, and you’ll be resizing like a pro in no time!
We’d love to see your resized headshots! Share them on social media with the hashtag #HeadsUpHeadshots. If you need any further assistance or professional headshot services, don’t hesitate to reach out. We’re here to help you shine!

